It can help you maintain business relationships, prevent billing and invoicing errors, streamline the administration of your business and extract more useful information for decision making.
Xero makes it easy to update your contacts, and today, we are going to look at how.
Editing contact details:
Navigate to the contacts tab and select all contacts or the relevant group. Now you can either search for a specific contact using the search box or simply scroll down the list. Select the contact you would like to edit, then click ‘edit’. From here, you can edit any contact details you like. This includes the ability to add bank account numbers, enable batch payments, apply invoice themes and default sales / purchase codes and sales discounts. Default settings can be overridden in individual invoices / bills.
If many of your contacts require editing, it may be quicker to export your contact list to a csv file, update the file, then re-import the updated contacts to Xero. To do this, navigate to the contacts tab and select all contacts. Click on the export tab as circled below.
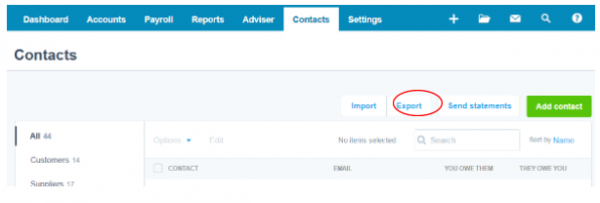
This will download a csv file which you can now save and edit.
To import the updated contacts list, click ‘import’ located next to the export button as circled above, click ‘browse’ and navigate to the saved contacts file and open. Click ‘import’. A screen as shown below will appear notifying you of the import details including any errors. If there are errors, go back to your csv file and correct before re-selecting your saved file and clicking ‘complete import’.

Merging doubled up contacts:
If you have multiple contacts saved for the same entity, you can merge these into one. To do this, select the contact which you would like to merge with another, click the options drop down box and select merge. Now search for the master contact and click ‘merge’ as shown below.

Now all of that entity’s transaction history will be merged under the one contact!
Once you have selected a contact, you can also archive old contacts which you know are not going to be used anymore and add contacts to custom groups from the options drop down box.
Uploading files to contacts:
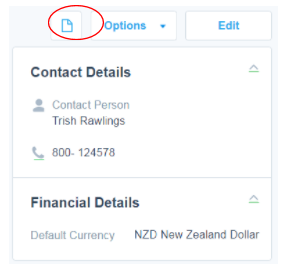
Would you like to keep contracts or other documentation relevant to a contact with all of their details in Xero? To do this, navigate to the contacts tab and select all contacts or the relevant group. Click on the contact for which you want to attach documentation. From here, you can either drag and drop the saved documentation into the contact screen or select the file icon as circled below.
Check out Xero’s video here for an overview of how to manage your contacts in Xero.
For more information, contact your WK Advisor.